Ring in the New Year with a Supermoon and JPL!

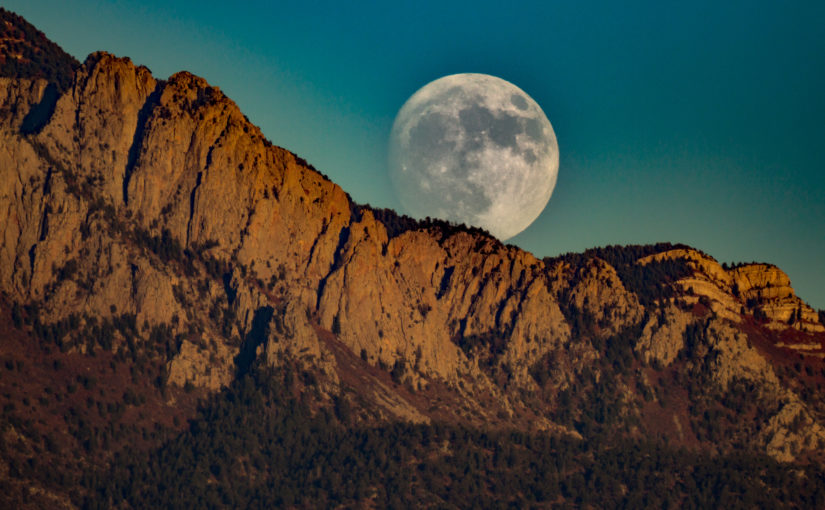
Tonight as you countdown to midnight, ring in the new year with 2018 ‘s first supermoon! January 1st at 7:15pm (MDT) happens to be the first full moon of the year.  It will also be near perigee (it’s closest distance to Earth) making it a supermoon.  But the Moon will still be an amazing site tonight as we all celebrate!  It will rise a little before sunset (~4:10pm MDT) and be visible until before sunrise (~5:30am MDT) providing all new year’s revelers a wonderful midnight glow. And because the Moon will be close to perigee, it will appear bigger and provide extra light – the perfect New Years ball!

January will see another supermoon at the end of the month as well. This is an extra special supermoon since it is a blue moon (second full moon in a month) and the night of a total lunar eclipse. Here in Albuquerque we will be treated to an early morning total lunar eclipse show on January 31st as a blood red Moon sets at ~7:00am MDT.  The partial phase of the lunar eclipse begins at 4:48am MDT, with the Moon completely eclipsed beginning at 5:51am MDT.  We will not see the second phase of the partial lunar eclipse as the Moon slips out of the Earth’s shadow.  But, it will be an amazing site seeing the light of the sun rises from Earth turning the Moon red as it sets near the volcanoes to the west of ABQ.

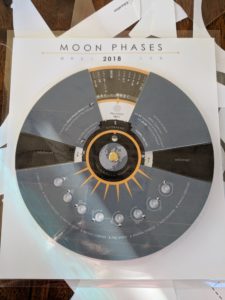
With so many Moon events occuring in 2018, my family decided to make a Moon phase calendar for the year. JPL just released an excellent template for making a Moon phase calendar that spins. 
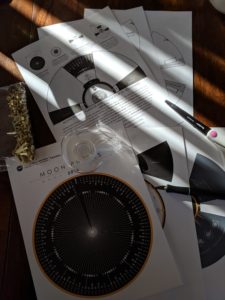
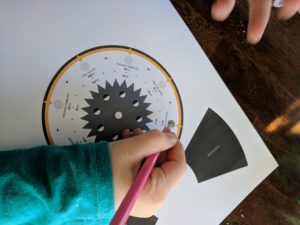
We had a great time making ours while discussing the phases of the Moon and eclipses. We’ve had even more fun using them since – both of my kids have been looking forward to what phase the Moon will be on different dates in 2018. My six year old was able to make her calendar primarily by herself; she only needed help with hole punching.
I even made a laminated version to guard against a year’s worth of wear.
 

Have a wonderful supermoon New Year!!!!

Clear skies.

~Misty Carty, Ph.D.
 

Discovering the Reasons for the Seasons

Discovering the Reasons for the Seasons – Science Activity

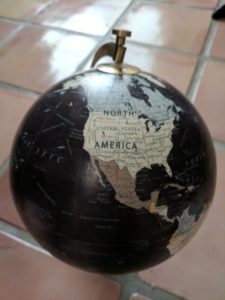
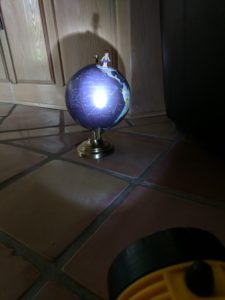
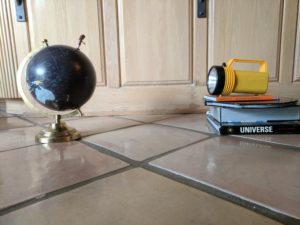
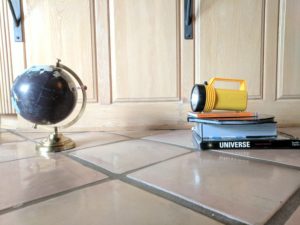
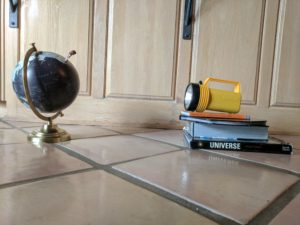
September is a great month to start discussing the seasons! The Fall Equinox is fast approaching and I have a great indoor activity to complement my title, Why Are There Seasons?, to help kids discover why we have seasons. Using a globe and flashlight to simulate the Earth and the Sun, kids can see how the shadows of a figurine change in Winter, Summer, & Spring/Fall – the effects of the seasons!

All you need to do this fun experiment are the following materials:

  1. Globe
  2. Putty
  3. Lego figurine
  4. Flashlight
  5. Stack of books
  6. Flexible tape measure
  7. Optional – piece of white card stock

If you don’t have a globe at home, you can use any ball by marking the tilt of the Earth, which is 23.5 degrees.  Marking the tilt will help kids see physically how the Earth is oriented compared to the Sun for each season.

Set up:


  1. Take a look at the globe, notice that it is tilted.

2. Find the United States, then find your state

  1. Place a bit of putty on the bottom of the figurine and place it standing on top of your location.
  2. Using a stack of books, place the flashlight on top so that it is shining on the middle of the globe.


Main Activity

Winter

  1. Spin the globe so that its tilt points away from the flashlight and the figurine is facing the flashlight. (You may have to position the globe and then spin it to orient the figurine.)
  2. Notice the figurine’s shadow. Is it long or short?


Using the flexible tape measure, find the length of the shadow.  (You can use a piece of card stock to illuminate the shadow better.)


Summer

  1. Place the globe so that its tilt is toward the flashlight. Make sure the figurine is facing the flashlight, too.
  2. Notice the figurine’s shadow. Is it long or short?


Using the flexible tape measure, find the length of the shadow.  How does this measurement compare to that in Winter?


Spring/Fall

  1. Place the globe so that its tilt is perpendicular to the flashlight. The figurine should again be facing the flashlight.
  2. Notice the figurine’s shadow. Using the flexible tape measure, find the length of the shadow.  How does this measurement compare to that in Winter? Summer?


Follow Up

The following are some optional questions to discuss

  1. From your experience, which season is the coldest? Warmest?


  1. From your measurements, which season has the longest shadows? Shortest?


  1. How does the tilt of the globe affect the length of the figurine’s shadows? (Think about how the length of the shadows would change if the globe had no tilt or a more extreme tilt.)


  1. What causes the seasons?


  1. Using your knowledge gained in this exercise, describe how you think shadows of real objects outside will change throughout the year?


I hope your kids have as much fun as mine did playing with the seasons; seeing the change in the figurine’s shadow was very exciting.  If you enjoyed this activity, please check out my book Why Are There Seasons?!

Clear Skies!

~Misty Carty, Ph.D.


Attribution-NonCommercial-NoDerivatives 4.0 International (CC BY-NC-ND 4.0)

Total Solar Eclipse 2017

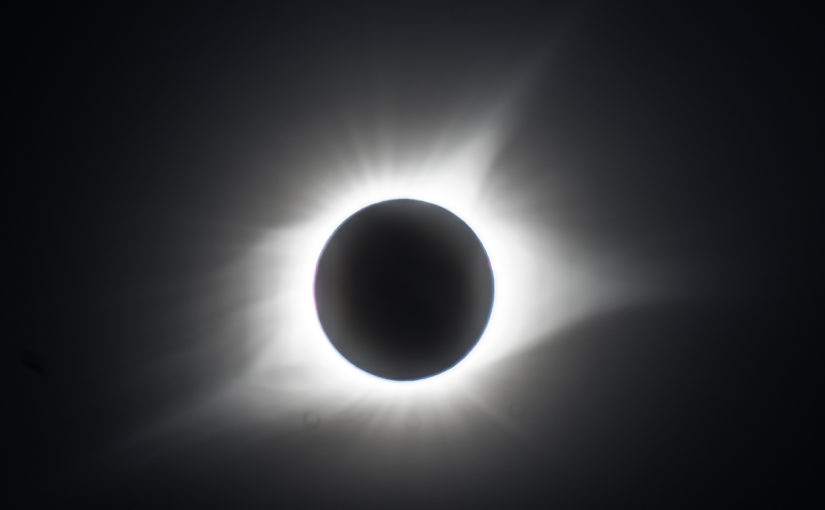
We’ve been traveling home for the past two days, but I wanted to put up a quick post about our experience with my first image from totality….

Our experience was amazing, jaw dropping, and inspiring.  We’re still processing the whole day.  Occasionally, one of the kids will erupt with a “That was totally wicked!” and go back to quiet contemplation.

Our day began at 5am. The traffic going south into Casper, WY was minimal.  And the Casper Event Center opened their gates early.  The ease of getting in was a shock; we saw the southerly traffic reports.

We set up on a grassy expanse and had hours to set up.  Our signs and cameras attracted the occasional passerby.  Our shirts, were unexpectedly popular.  We handed out Megamovie glasses.  I happily showed our eclipse neighbors a zoomed in image of the Sun and pointed out its array of sunspots.  Everyone was friendly, a community of onlookers waiting for their experience.  Of those we talked with, no one had seen a total solar eclipse before.  One woman said the closest she came was an annular and she was counting down the minutes to this experience.  We all were.

As we neared totality, a band of clouds preceded the Moon’s shadow.  I silently and loudly wished they would hurry along.  They stayed through the end of the eclipse, but were gracious enough to part around the Sun and Moon conjunction to allow us a grand view of the Sun’s corona!   As twilight descended upon us everyone cheered!  The horizon, with a smattering of puffy clouds, was a breathtaking 360 degrees of iridescent pinks and oranges.  We saw Venus through the clouds and I couldn’t resist shouting to everyone that it was there.

And then just as quickly as it came, the Moon’s shadow swept away from us on to it’s next location along the path of totality.  Everyone cheered again.  And I was overwhelmed.  I wish it had lasted longer.  I wish I had noticed more.  But, it is an experience that will never leave me.

I’m already planning our next eclipse trip.  Perhaps I will be able to convince my family to travel to Chile or Argentina for the 2019 total eclipse.

Look for more pictures and animations of the eclipse in the coming days.  I have a lot of image processing to do!


Clear Skies

~Misty Carty, Ph.D.


Countdown to the Eclipse – Eclipse Megamovie Project: Be a Citizen Scientist

Eclipse Megamovie Project: Be a Citizen Scientist!

Countdown: 05days:23hr:04min

The countdown is getting smaller and smaller to the big day! I leave for my total eclipse adventure in the very near future and can barely think about anything else.  I’ve been taking advantage of the 3rd quarter moon to practice my eclipse photography (focusing and image bracketing).  And, there is a new sunspot!  It will hopefully hang around until Monday, giving everyone an excellent point to narrow in their focus.

I’ve been practicing, practicing, practicing as I am one of over a 1,000 volunteer photographers imaging the total eclipse for the Eclipse Megamovie 2017 project.  It is a “first-of-its-kind citizen science project gathering scientifically valuable data from the total solar eclipse”!  We photographers are spread out across the continental United States within the path of totality.  We will be taking pictures of  the Sun during totality and then uploading them.  The Megamovie Team will then stitch all of the photographs together in sequence, from Oregon to South Carolina, creating one big Eclipse MEGAMOVIE!

Why is this project important?  This will give scientists and the public a chance to see and study how the Sun’s corona changes over a few hours.  Typical solar observatories, such as SOHO (Solar and Heliospheric Observatory), use an occulting disk to block the light from the surface of the Sun making the Sun’s corona visible.  However, due to limitations of these space borne observatories the occulting disks limit what portion of the corona may be observed.  Since the Moon is the same apparent size as the Sun on our sky, it is the perfect size to block the light from the surface of the Sun and allow observations of the lesser studied lower portion of the corona.  This high resolution movie will give scientists valuable data to study for years to come.  And the folks organizing this (Google’s Making Science Team and Berkeley’s Multiverse Team)  already have plans for a repeat Megamovie project for the 2024 total solar eclipse, which will provide another excellent data set for comparison.

How can you help?!  The Eclipse Megamovie team want all the images/data they can get their hands on of totality, including cell phone images!!!  If you will be in the path of totality, you can participate and become a citizen scientist by downloading their Eclipse Megamovie app for Android and IOS.  There is even a practice mode to help you prepare for the big event! I hope you decide to be a citizen scientist, too!

As always, wishing everyone clear skies!

~Misty Carty, Ph.D.


Countdown to the Eclipse – Solar Eclipse Name Viewers

Solar Eclipse Name Viewers


***Remember, NEVER look directly at the Sun without proper solar glasses or filters – it will damage your eyes.  Sunglasses do NOT count.***


Countdown: 10days: 23hr:27min

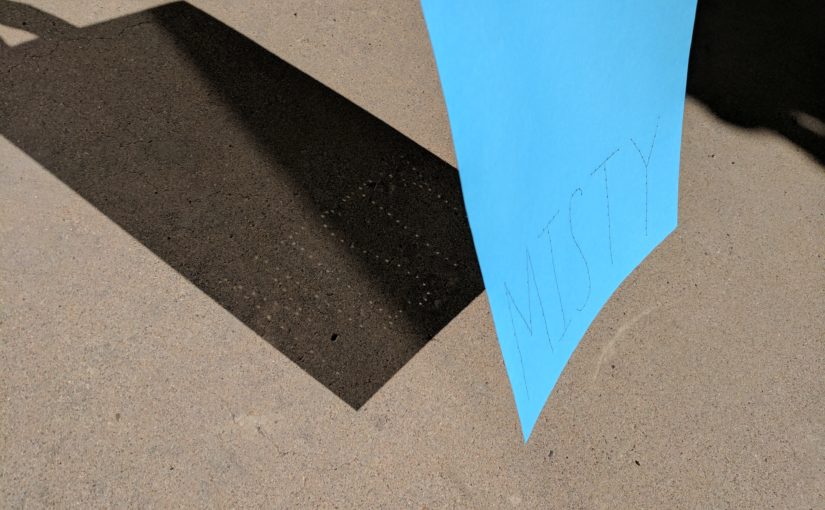
Today, as part of our solar eclipse countdown, I wanted to show you how to make a fun solar eclipse viewer to use during the partial phase of the solar eclipse.  In the picture above and the directions below, I suggest using your name.  But get creative!

Materials Needed:

  1. Cardstock
  2. Pushpin
  3. Pushpin Mat (or cardboard, styrofoam anything so the pushpin does not damage the surface you are working on)
  4. Pencil


Making the Viewer:

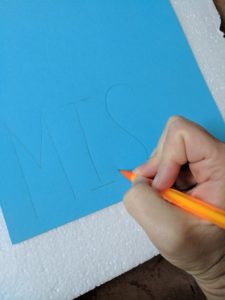
Step 1 – Take your piece of cardstock and using your pencil, write your name using large letters.

Step 2 – Place your cardstock on the pushpin mat (I used styrofoam).

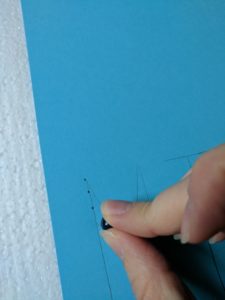
Step 3 – Use the pushpin to make holes along the letters you wrote.  Be sure to space your holes at least a half inch apart so the images of the Sun will be easily separated. 

Step 4 – Once you’ve finished making all the holes, hold your cardstock up to a light in the room.  Check to see if all of the holes are cleanly punched.  Go back and fix any holes as needed.


Using the Viewer:

On the day of the eclipse you will take your viewer outside with you.

Step 1 – Stand with your back to the Sun.

Step 2 – Hold your viewer out to your side.

Step 3 – Angle your viewer so that the holes are facing the Sun.

Step 4 – Look at the ground to see the images of the Sun write out your name!


If you’d like to make these viewers and use them in your class or for homeschooling, please feel free!  Here are some follow-up questions you can ask.

Follow up:

What shape are the images your viewer makes?


Try using your viewer in different locations.  Is it easier or harder to see the images of the Sun on a lighter or darker surface? A bumpy or smooth surface?


Try positioning your viewer at different angles.  How do the images change?


Try holding your viewer at different heights from the ground.  What happens to the size of the images?  At what height do they seem the most crisp?


Have Fun!


***Remember, NEVER look directly at the Sun without proper solar glasses or filters – it will damage your eyes.  Sunglasses do NOT count.***


~Misty Carty, Ph.D.

Countdown to the Great American Eclipse

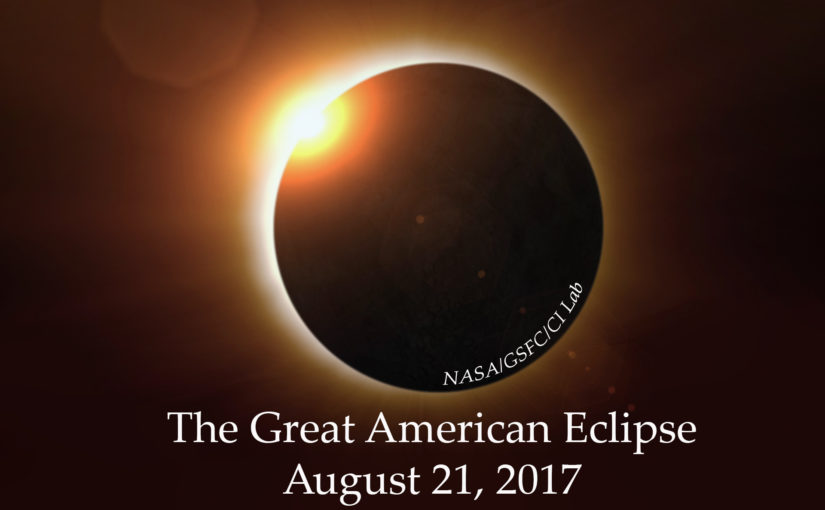
As I write this post, there are 11days:23hr:18min until the solar eclipse touches the west coast in Oregon on August 21st!

To say the excitement for this eclipse is profound is an understatement. And, this coast to coast eclipse will have a large impact on the country.  The Great American Eclipse website has a page dedicated to the traffic expected per state that totality crosses.  The eclipse will begin in Oregon and ODOT is saying the eclipse will bring the “biggest traffic event in Oregon history“.  As the eclipse traverses the country, Idaho, Nebraska, Missouri, Illinois, and Tennessee are predicted to be the most impacted.  Then the eclipse will end in South Carolina, which is expected to have the worst influx due to travelers from along the east coast.

Even if you can’t make it to a spot along the path of totality, the entire USA falls within the path of a partial solar eclipse (be sure to wear proper eye protection when looking at the Sun!).   The furthest spot from totality in the USA is the top of Maine, which will still see at least 55% of the Sun covered by the Moon.  You can check out how much of a partial eclipse you will see and when (on August 21st) at TimeandDate.com.

As the countdown grows smaller, I am eagerly awaiting my trip to the path of totality with my family.  We’ve been practicing our viewing techniques (to ensure eye safety) and practicing with our photography gear (so we can take pictures but still enjoy the event).

Over the next 10 days, I will bring you a Countdown To The Eclipse series posting ways you can enjoy the eclipse and participate in citizen science projects!

Clear Skies!

~Misty Carty, Ph.D.

AAS Warns of Counterfeit Solar Eclipse Glasses and Viewers!

The American Astronomical Society (AAS) reported in a recent article that some retailers are selling counterfeit solar eclipse glasses and viewers for the upcoming solar eclipse on August 21st.  And far worse than simply selling phony products, sellers are printing fake ISO certifications and providing forged test results on the glasses, making it nearly impossible to distinguish them from safe products. To ensure your glasses are the real deal, the AAS suggests buying your glasses from a reputable retailer they have verified.  If you have already purchased your glasses you can check to see if they are safe by doing the following:

“You shouldn’t be able to see anything through a safe solar filter except the Sun itself or something comparably bright, such as the Sun reflected in a mirror, a sunglint off shiny metal, or the filament of a bare incandescent light bulb. If you can see ordinary household light fixtures through your eclipse glasses or handheld viewer, it’s no good. Safe solar filters produce a view of the Sun that is comfortably bright (like the full Moon), in focus, and surrounded by dark sky. If you glance at the Sun through your solar filter and find it uncomfortably bright, out of focus, and surrounded by a murky haze, it’s no good. You should contact the seller and demand a refund or credit for return of the product, then obtain a replacement from one of the sources listed on the AAS’s reputable-vendors page.”

-AAS

So if you are planning on viewing the eclipse (and you should, the entire continental US will see at least a partial eclipse!) be extra careful and take the time to make sure your eclipse glasses are indeed safe! You can also view the eclipse via indirect methods, such as pinhole viewers.

Stay safe and clear skies!

~Misty Carty, Ph.D.

Eclipse Pinhole Viewers

Some of the fun inflatables we used during Stories in the Sky.

Last week, A Little Science partnered with the Albuquerque Balloon Museum for their Stories in the Sky.  If you happened to miss us, we had a great time reading our new title, Where Is The Moon?.  We also used our fun inflatables to learn why the Moon has phases.  Then we simulated the upcoming solar eclipse, occurring on August 21st, with our scale Earth and Moon.  Afterwards, everyone made Eclipse Pinhole Viewers to take home and use for safe viewing of the eclipse.  Thank you to Amanda for hosting and all of the wonderful volunteers!

Our scale model of the Earth and Moon.
The shadow of the scale Moon falling onto the scale Earth – a simulated total eclipse!


Below are instructions for two different types of Eclipse Pinhole Viewers.  Enjoy!

~Misty Carty, Ph.D.


***Remember, NEVER look directly at the Sun without proper solar glasses or filters – it will damage your eyes.  Sunglasses do NOT count.***


Eclipse Viewer/Pinhole Camera

We made these awesomely simple eclipse viewers for our Stories in the Sky activity.  You can find instructions here,

https://www.jpl.nasa.gov/edu/learn/project/how-to-make-a-pinhole-camera/.


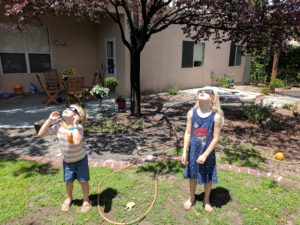
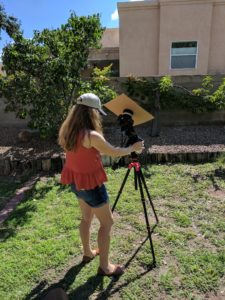
Solar Eclipse Box Pinhole Viewer

This viewer takes a little more to make, but does not require a separate viewing card.  It’s an all in one viewer!

Supplies Needed:

  1. Cereal Box (or any box)
  2. Scissors
  3. Tin foil
  4. Tape
  5. Pin/nail/paperclip
  6. White paper
  7. Glue


Instructions:

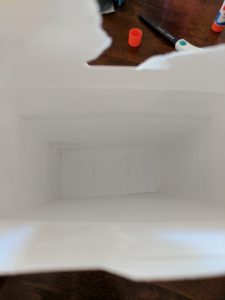
First begin by making sure one end of your box is sealed.  If not, use your glue or tape to close it up.  You’ll be using this end for viewing the image of the Sun.

Next, using your white paper, measure the end of your box and cut the paper to fit.

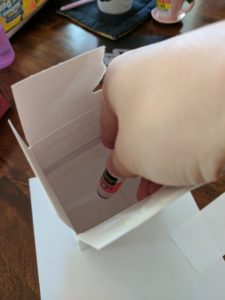
Now, on the inside of the box, place glue on your viewing end.  Then place your cut paper on top of the glue and press.  Even though the box I used is white, I still added a strip of white paper to make the surface uniform for viewing.

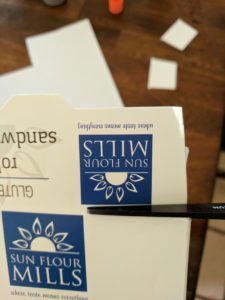
Next, cut the short flaps off of the open end of your box.

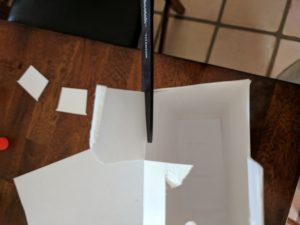
Then, clasp the long flaps together.  Measure about 1.5 to 2 inches in from the edge and cut, making sure to leave the center clasp.

Tape (or glue) the remaining part of the long flaps together.

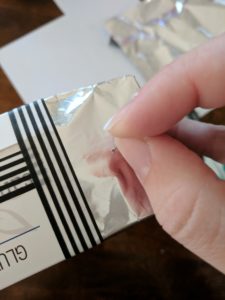
Now, measure and cut a piece of tinfoil to fit over one of the cut outs.


Fold the tinfoil around the edges of the box and tape in place.

Then take your pin (a small nail or paperclip will work too) and make a small hole in the center of the tin foil.

Now, take your viewer outside!

How to use your viewer:

Once outside, stand with your back to the Sun and hold your viewer so the Sun is shining on it.  To align your box with the angle of the Sun on the sky, look at the ground and move your box until its shadow is as close to a rectangle (or square if your box is square) as possible.

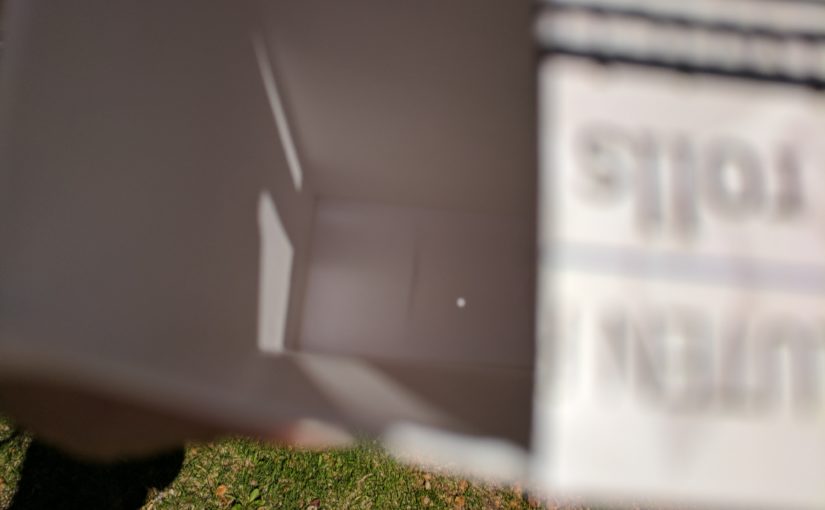
The image of the Sun should appear on the white paper on the inside of your box.

Hold your eye up to the open side of your box and enjoy!

During the eclipse the Moon is passing in front of the Sun.  Instead of a full circle, you will only see part of the Sun.  If you are in the path of totality, you will only need to use your viewer during the time before and after totality.  Once the Moon has completely covered the Sun, you can safely view the total eclipse.

This solar eclipse pinhole viewer was adapted from http://hilaroad.com/camp/projects/eclipse_viewer/eclipse_viewer.html.