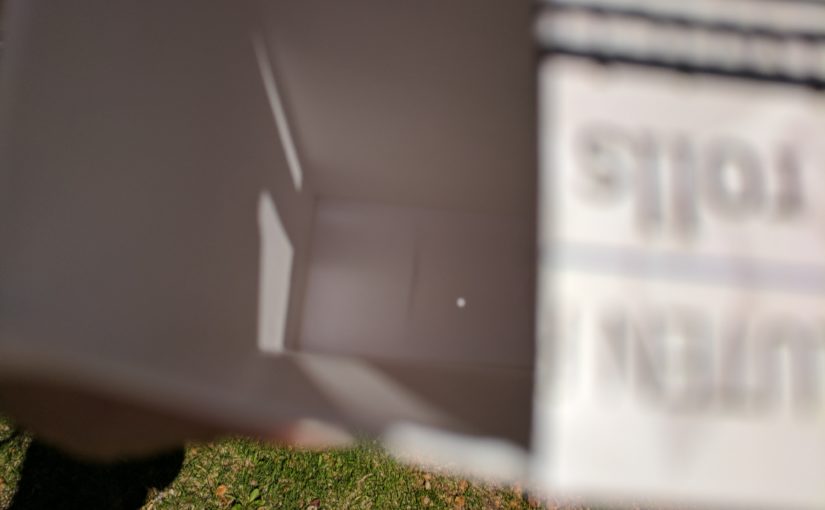
Last week, A Little Science partnered with the Albuquerque Balloon Museum for their Stories in the Sky. If you happened to miss us, we had a great time reading our new title, Where Is The Moon?. We also used our fun inflatables to learn why the Moon has phases. Then we simulated the upcoming solar eclipse, occurring on August 21st, with our scale Earth and Moon. Afterwards, everyone made Eclipse Pinhole Viewers to take home and use for safe viewing of the eclipse. Thank you to Amanda for hosting and all of the wonderful volunteers!


Below are instructions for two different types of Eclipse Pinhole Viewers. Enjoy!
~Misty Carty, Ph.D.
***Remember, NEVER look directly at the Sun without proper solar glasses or filters – it will damage your eyes. Sunglasses do NOT count.***
Eclipse Viewer/Pinhole Camera

We made these awesomely simple eclipse viewers for our Stories in the Sky activity. You can find instructions here,
https://www.jpl.nasa.gov/edu/learn/project/how-to-make-a-pinhole-camera/.
Solar Eclipse Box Pinhole Viewer
This viewer takes a little more to make, but does not require a separate viewing card. It’s an all in one viewer!
Supplies Needed:

- Cereal Box (or any box)
- Scissors
- Tin foil
- Tape
- Pin/nail/paperclip
- White paper
- Glue
Instructions:
First begin by making sure one end of your box is sealed. If not, use your glue or tape to close it up. You’ll be using this end for viewing the image of the Sun.

Next, using your white paper, measure the end of your box and cut the paper to fit.

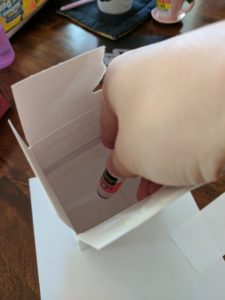
Now, on the inside of the box, place glue on your viewing end. Then place your cut paper on top of the glue and press. Even though the box I used is white, I still added a strip of white paper to make the surface uniform for viewing.
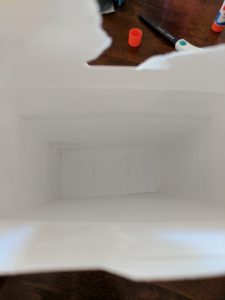
![]() Next, cut the short flaps off of the open end of your box.
Next, cut the short flaps off of the open end of your box.

Then, clasp the long flaps together. Measure about 1.5 to 2 inches in from the edge and cut, making sure to leave the center clasp.

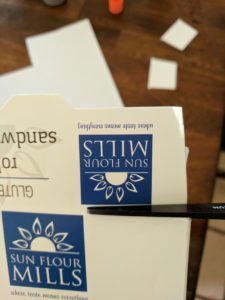
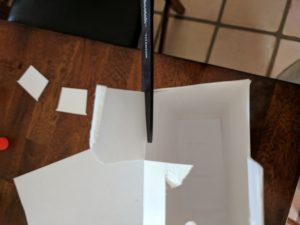
Tape (or glue) the remaining part of the long flaps together.

Now, measure and cut a piece of tinfoil to fit over one of the cut outs.

Fold the tinfoil around the edges of the box and tape in place.


Then take your pin (a small nail or paperclip will work too) and make a small hole in the center of the tin foil.
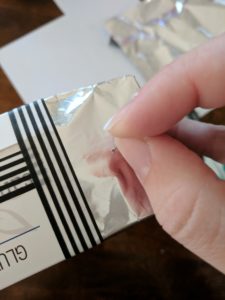
Now, take your viewer outside!
How to use your viewer:
Once outside, stand with your back to the Sun and hold your viewer so the Sun is shining on it. To align your box with the angle of the Sun on the sky, look at the ground and move your box until its shadow is as close to a rectangle (or square if your box is square) as possible.
The image of the Sun should appear on the white paper on the inside of your box.
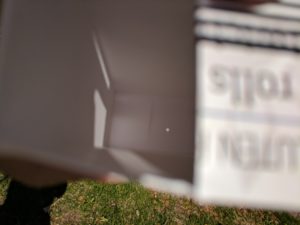

Hold your eye up to the open side of your box and enjoy!
During the eclipse the Moon is passing in front of the Sun. Instead of a full circle, you will only see part of the Sun. If you are in the path of totality, you will only need to use your viewer during the time before and after totality. Once the Moon has completely covered the Sun, you can safely view the total eclipse.
This solar eclipse pinhole viewer was adapted from http://hilaroad.com/camp/projects/eclipse_viewer/eclipse_viewer.html.
